James Hardie Garage Conversion ADU: The San Antonio Owner’s Guide
If you’re converting an existing garage or building a detached garage conversion ADU with James Hardie siding and cladding, the parts that actually fail are rarely the siding itself. It’s the trim boards, corner boards, soffit, and the flashing details where water gets in. A full James Hardie trim and flashing replacement on a San Antonio garage conversion typically runs $2,800 to $6,900 installed, depending on square footage and how much water damage has already happened behind the boards.
Most San Antonio homeowners discover the problem the same way: a corner board starts pulling away from the wall, a piece of trim swells at the bottom edge, or paint keeps peeling off one section no matter how many times it’s recoated. By the time you see it from the street, moisture has usually been working behind the Hardie board for a season or two. The good news is that replacing Hardie trim and flashing is straightforward for a crew that does it weekly. The bad news is that if the sheathing behind it has rotted, the scope and price change fast. We’ll walk you through exactly what to check, what it costs, and when it’s a job for a builder versus a weekend.
Key takeaways:
- James Hardie siding itself rarely fails; the trim, flashing, and corner details are what go first in Texas heat and rain cycles.
- Installed replacement of Hardie trim and flashing on a garage conversion ADU in San Antonio typically runs $2,800 to $6,900.
- The number goes on paper first. Everything else follows from there.
- Benson ADU San Antonio stocks James Hardie trim, corner boards, and flashing on the truck for most standard profiles.
Which James Hardie Models This Applies To

Our garage conversion ADU work in San Antonio involves three primary James Hardie product lines: HardiePlank lap siding, HardiePanel vertical siding, and the HardieTrim boards that finish every corner, window, and door opening. The trim is where we see most failures, and it’s also where compatibility gets tricky.
Here’s what most homeowners don’t know: James Hardie trim boards come in specific thicknesses (5/4″ nominal and 4/4″ nominal) and widths (3-1/2″, 4-1/2″, 5-1/2″, 7-1/4″, 9-1/4″, 11-1/4″). If your garage conversion was built with HardieTrim Batten boards versus standard HardieTrim boards, the profiles are not interchangeable without changing the shadow line on the wall. It’s a small detail you’d never notice until someone installs the wrong width and the corners look off. We always measure with a tape before ordering, not trust the builder’s original spec sheet. San Antonio humidity and the freeze-thaw cycles we get in January and February are rough on trim that’s been primed but not sealed on all six sides. The cutoff ends and field cuts are where Hardie board wicks moisture if whoever installed it skipped edge sealing. We can tell within the first ten minutes on site whether the original installer did it right.
For OEM versus aftermarket: James Hardie doesn’t make “aftermarket” boards the way auto parts brands do. What you get from a non-authorized supplier is genuine Hardie product, but often from a mismatched production lot with slightly different color and texture from what’s already on your wall. For paint-grade trim, that doesn’t matter because it gets painted anyway. For ColorPlus pre-finished product, the finish colors are factory-baked and consistent across lots, so buying from any legitimate supplier is fine. We source direct from James Hardie distribution channels for ColorPlus jobs because it eliminates the lot-matching headache entirely.
Signs Your James Hardie Garage Conversion ADU Is Failing
- Corner boards pulling away from the sheathing. This usually means the original installer didn’t use long enough fasteners, or the sheathing underneath has swelled from moisture and pushed the board off the wall. If you can see a gap at the corner joint, water has a direct route in.
- Paint peeling at the bottom edge of trim boards. The bottom 6 to 12 inches of HardieTrim wicks water if the end cuts weren’t sealed. In San Antonio, we see this concentrated on the east-facing side of garage conversions, where morning dew sits on the siding for hours before the sun burns it off.
- Swelling or bubbling in the siding itself near the roofline or at the garage door opening. Hardie board is cement-based and shouldn’t swell, but it will telegraph moisture damage from the OSB or plywood behind it. If the board looks puffy or wavy in a specific area, the damage is behind the siding, not in the siding.
- Caulk joints that crack repeatedly in the same spot. Caulk is supposed to flex. If it keeps cracking in the same corner or seam, the underlying structure is moving more than it should, or the original ADU framing wasn’t tied correctly to the existing roofline. Re-caulking it every six months is treating the symptom.
- Gaps opening up between the siding and window trim on your garage conversion. That’s a flashing detail that failed or was never installed. In a converted garage, the original window openings are usually the first place water gets in because garage builders don’t flash windows the way ADU builders do.
Replacement Cost & What’s Included
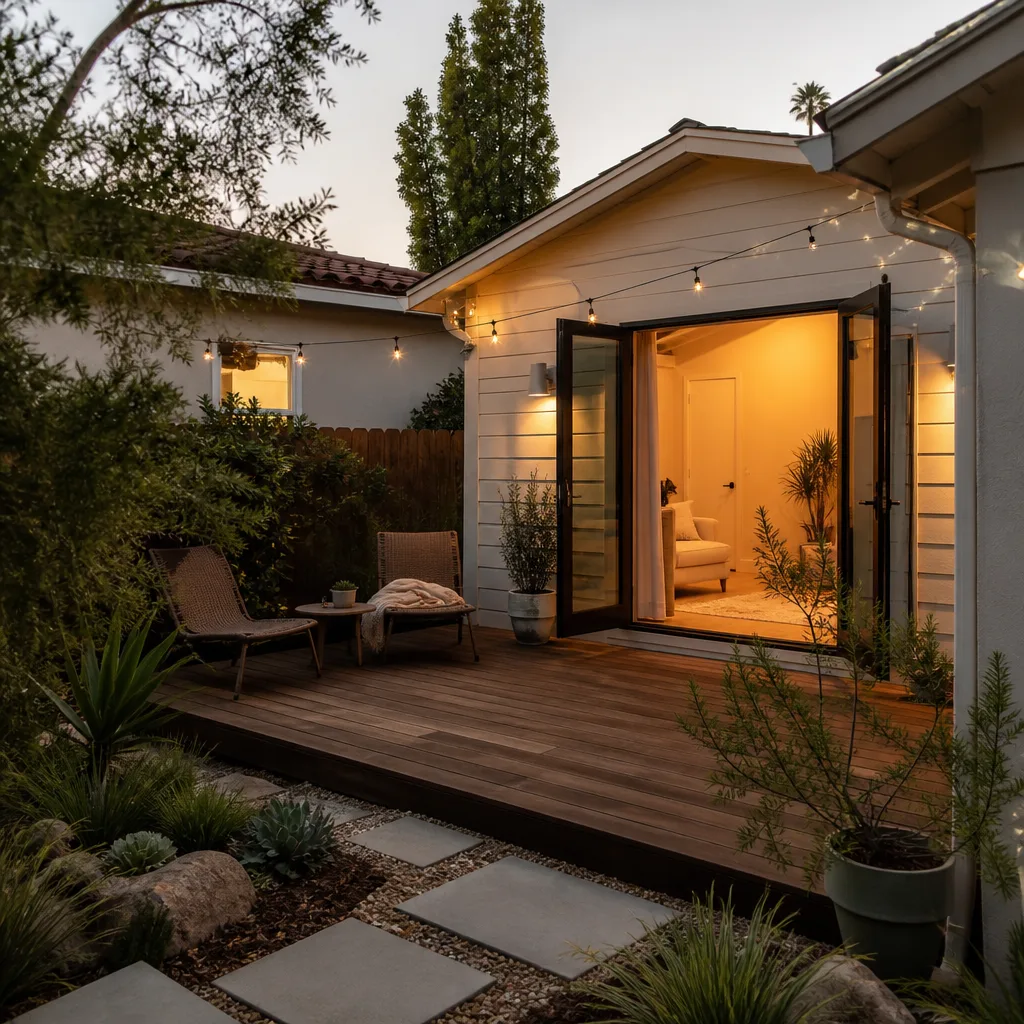
In San Antonio, James Hardie trim and flashing replacement on a garage conversion ADU typically lands between $2,800 and $6,900 installed. The range is driven by how many linear feet of trim you’re replacing, whether the damage goes into the sheathing, and whether your existing siding profile is paint-grade or ColorPlus pre-finished. A simple corner-board and section-of-trim swap near the garage door might run $1,500 to $2,400. A full re-trim of the entire conversion with new flashing at every window, door, and the roofline intersection generally starts around $4,200 and climbs with square footage.
What’s included in our written price: all James Hardie materials matched to your existing profile, removal and disposal of the failed boards, new flashing at every transition point, edge sealing on every field cut, caulk and paint-grade primer on all new trim, and the labor from a background-checked, uniformed crew. The written price also includes the 365-Day Done Right Promise, so if any of the new trim fails within a full year, we’re back to fix it at no cost. If you’re just trying to budget, call (430) 258-2928 and we’ll talk through your specific layout and give you a range over the phone. Written numbers come after we see it, but the first call is always honest.
DIY or Call Us?
Here’s the honest split. There are things you can safely do yourself to diagnose a James Hardie issue, and there are things you should not DIY if you care about the garage conversion lasting the next 20 years. You can absolutely walk the perimeter with a flashlight, check for visible gaps at the corner boards, and press on any wavy siding to see if the sheathing behind it feels soft. That tells you what’s wrong. It doesn’t tell you how far the damage goes.
Where DIY goes sideways on Hardie board: cutting it without the right blade and dust control. Hardie board releases silica dust when cut, and the dust is a serious respiratory hazard. Pros cut it with specific shears or blades and run dust collection. We see homeowners cut it with a circular saw and finish the day with their sinuses wrecked. The bigger structural issue is flashing. If you don’t rebuild the flashing details correctly at the garage door header, the wall-to-roof tie, and every window opening on your conversion, you will have the exact same problem in three years, just behind new boards. And the framing work under the siding, if it’s rotted, is not a weekend project in a garage conversion that’s supposed to be living space. If your sheathing is soft, call (430) 258-2928. If it’s just a trim board that came loose and the wall behind it is dry and solid, a careful homeowner can handle that with the right fasteners and edge sealer. Most San Antonio homeowners call us because the day is better spent doing something else, and the done-right guarantee means more on an ADU than it does on a shed.
FAQs
James Hardie siding itself carries a 30-year non-prorated warranty and often lasts 40 to 50 years, but the trim boards and flashing details on a garage conversion typically show issues within 10 to 15 years in San Antonio’s climate. The difference is that the siding is a big flat surface that sheds water, while the trim is an edge detail that catches water. Call (430) 258-2928 if your conversion is showing trim failure and we’ll tell you honestly whether it’s worth replacing just the trim or doing the full envelope.
Small areas can sometimes be repaired with sanding, sealing, and repainting if the board is still structurally sound and the damage is surface-level only. But if the board has been wicking moisture for more than a season, the bottom portion is typically compromised and needs to come out. Repairing rotted Hardie trim is like putting a bandage on a cut that needs stitches. Give us a call at (430) 258-2928 and we’ll tell you straight which path makes sense for your specific boards.
Most single-garage conversions take 2 to 3 days from start to finish, including removal, any sheathing repair, new flashing, new trim, and the initial paint-grade priming. If we’re matching ColorPlus pre-finished product and the removal is clean, some jobs finish in a day and a half. Weather in San Antonio can add a day here or there. Call (430) 258-2928 for a real timeline based on your actual layout.
We keep standard HardieTrim widths, corner boards, and flashing on the truck for the most common profiles used on San Antonio garage conversions. Special-order ColorPlus colors and less common widths usually arrive in 3 to 5 business days through our James Hardie distribution channels. If you send us photos before we come out, we can often match the profile and have materials on hand the first visit. Call (430) 258-2928 and we’ll walk you through what to photograph.
If your James Hardie garage conversion ADU is showing signs of trim or flashing failure, don’t wait until the damage spreads to the framing. Call Benson ADU San Antonio at (430) 258-2928 for a free estimate and a written number before any work starts. Troy Eastman and the team are the ones who show up, and the price you’re quoted is the price you’ll pay.
Written by Troy Eastman, Owner & Builder, Benson ADU San Antonio at Benson ADU San Antonio, serving San Antonio and nearby areas.